Placetopay - Payment Gateway for Woocommerce
Offer global and local payment methods, compatible with your language, and get them up and running in minutes.
Last update
2026-02-27
Version
3.2.1
Offer global and local payment methods, compatible with your language, and get them up and running in minutes.
Last update
2026-02-27
Version
3.2.1
| Characteristics | |
|---|---|
| Pre-filling buyer information | |
| Partial payments | |
| Skip payment result on placetopay | |
| Lightbox | |
| Customize payment image | |
| Brand management | |
| Allow/Disallow payments with pending orders | |
| Set return page after payment (default, my orders) | |
| Set payment expiration time | |
| Payments by API | |
| Pre-authorization type transactions | |
| Enable/Disable Kount (Anti-fraud service) | |
| Enable/Disable 3DS | |
| Enable/Disable OTP service | |
| Enable/Disable deferred payments (credit selection) | |
| Multistore |
This guide provides you with a detailed step-by-step guide for installing the WooCommerce Gateway Placetopay plugin. It should be noted that all aspects of this guide will be performed in a test environment, with the goal of thoroughly illustrating your setup.
To carry out the integration process, it is assumed that the merchant has already previously installed the WooCommerce component on their WordPress site.
To use Placetopay, you must have an active account.
Download our plugin to integrate it with the WordPress platform.
To get started, log in to your WordPress account.


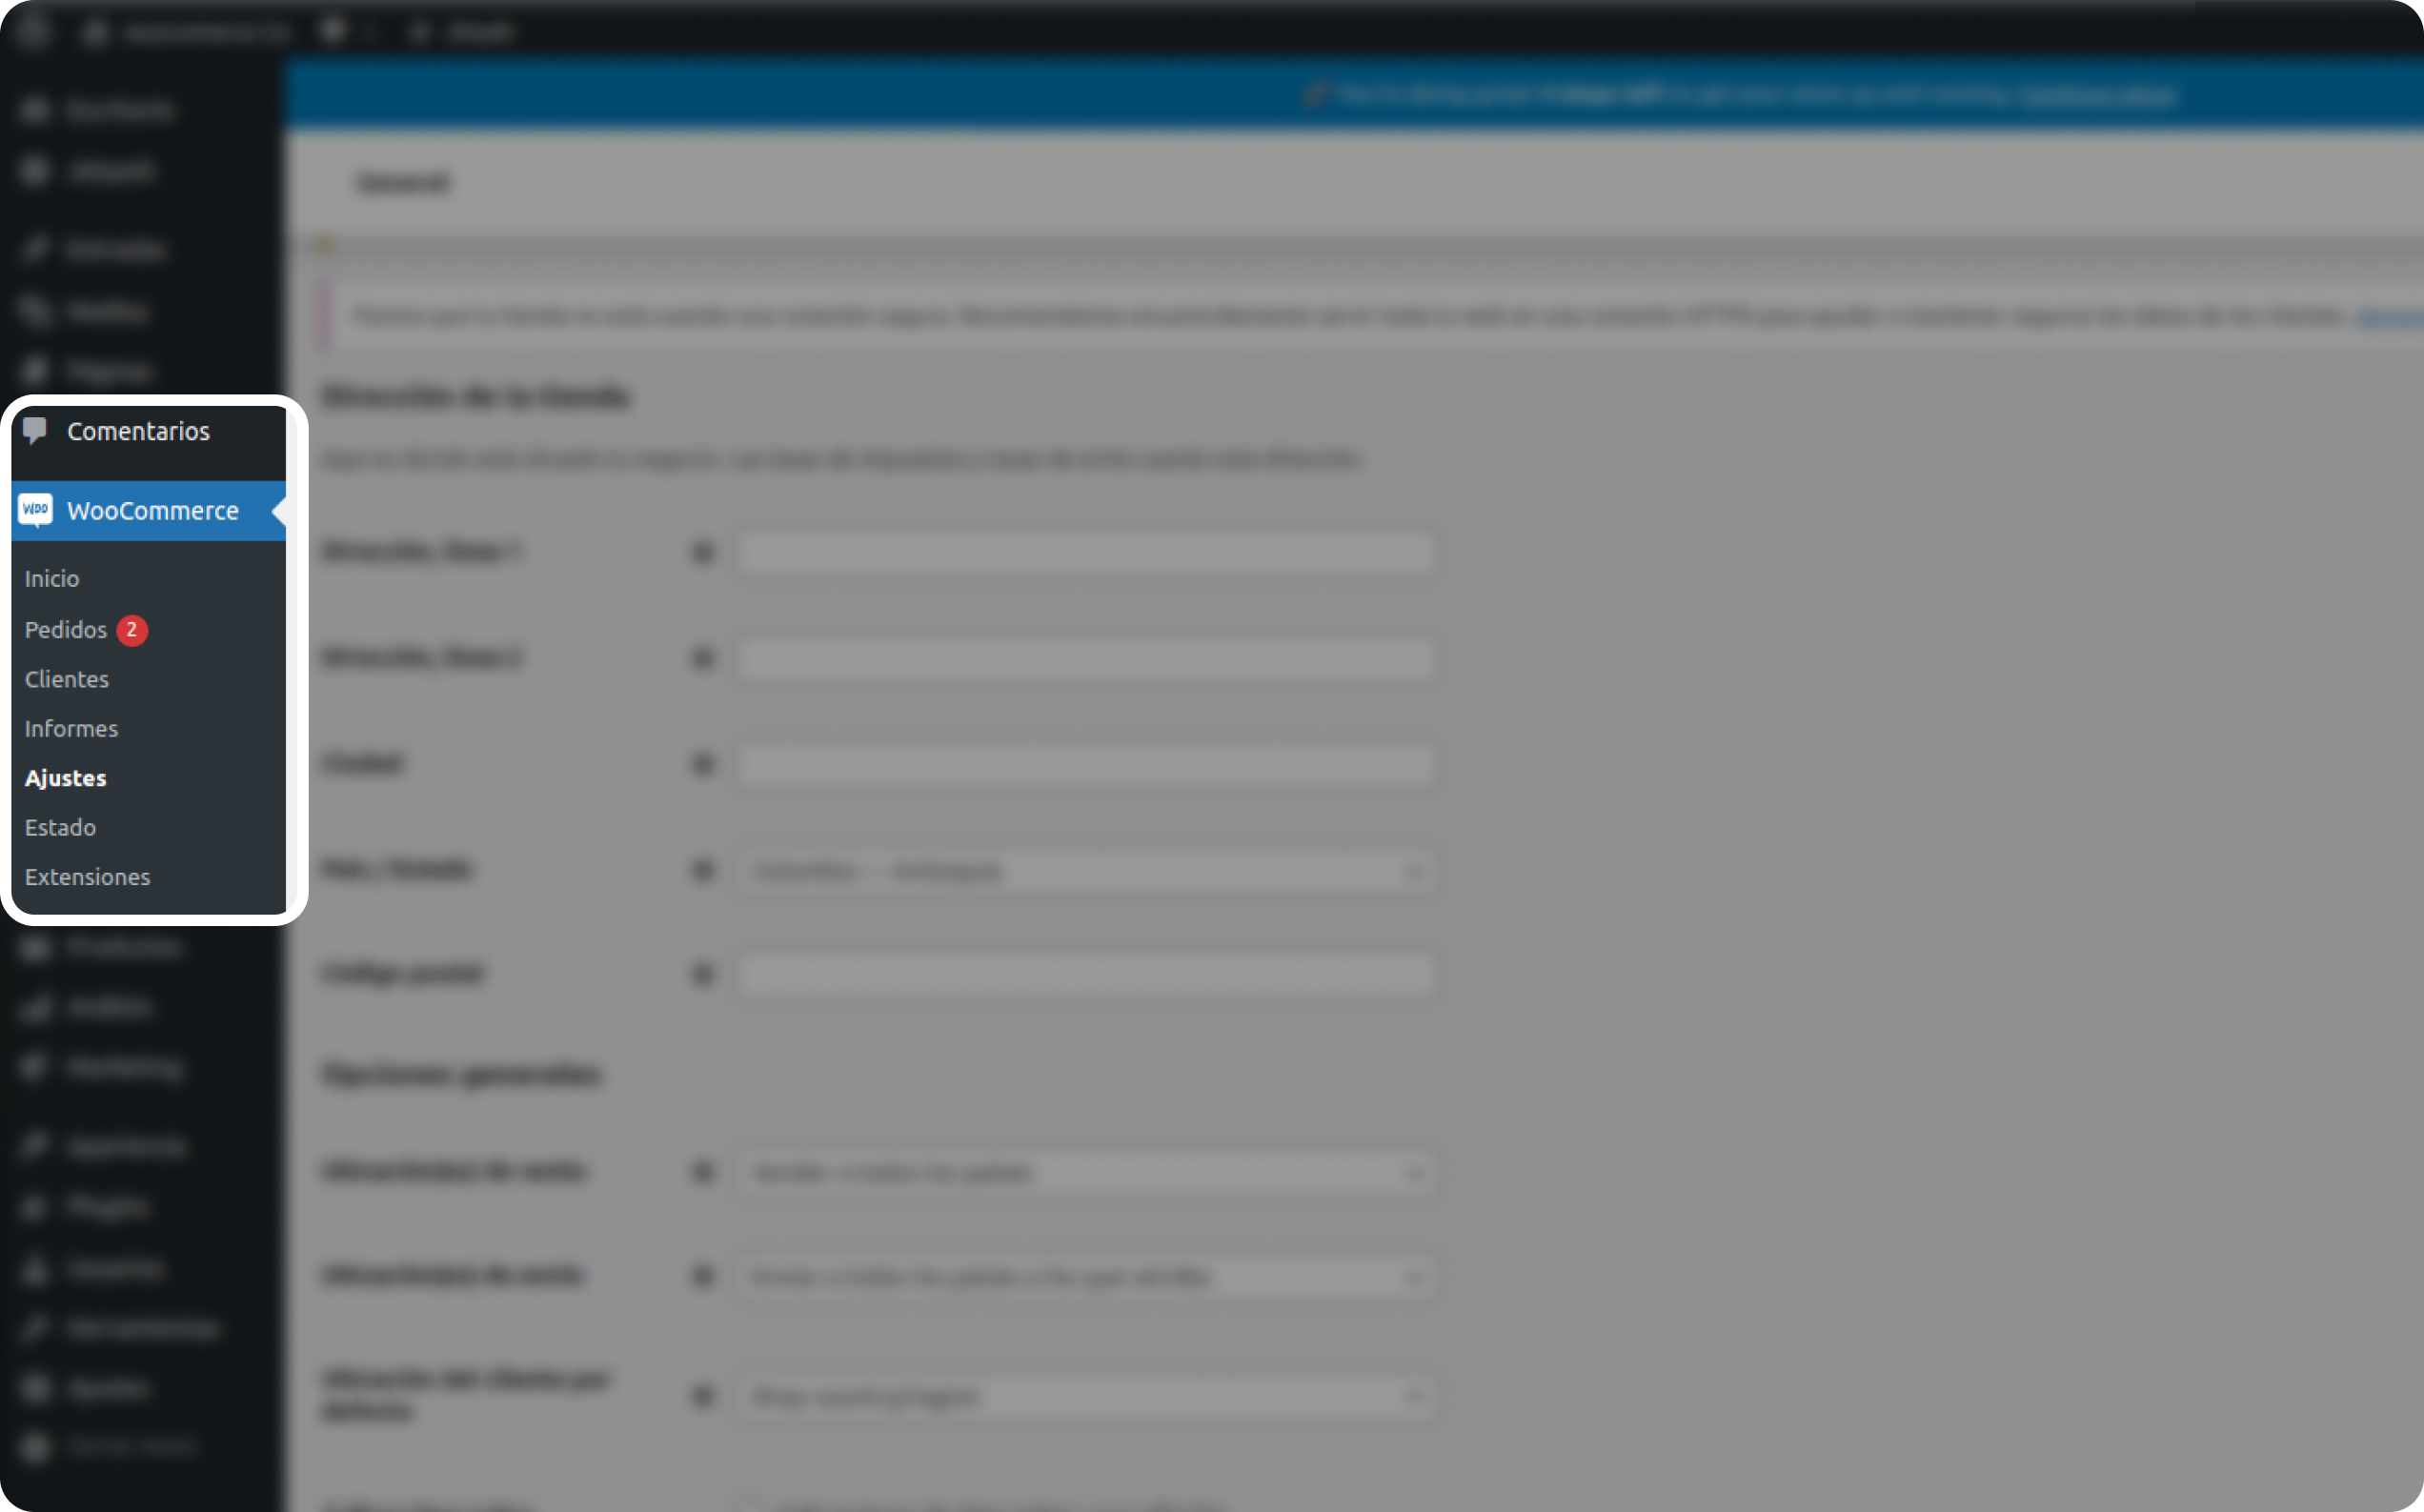
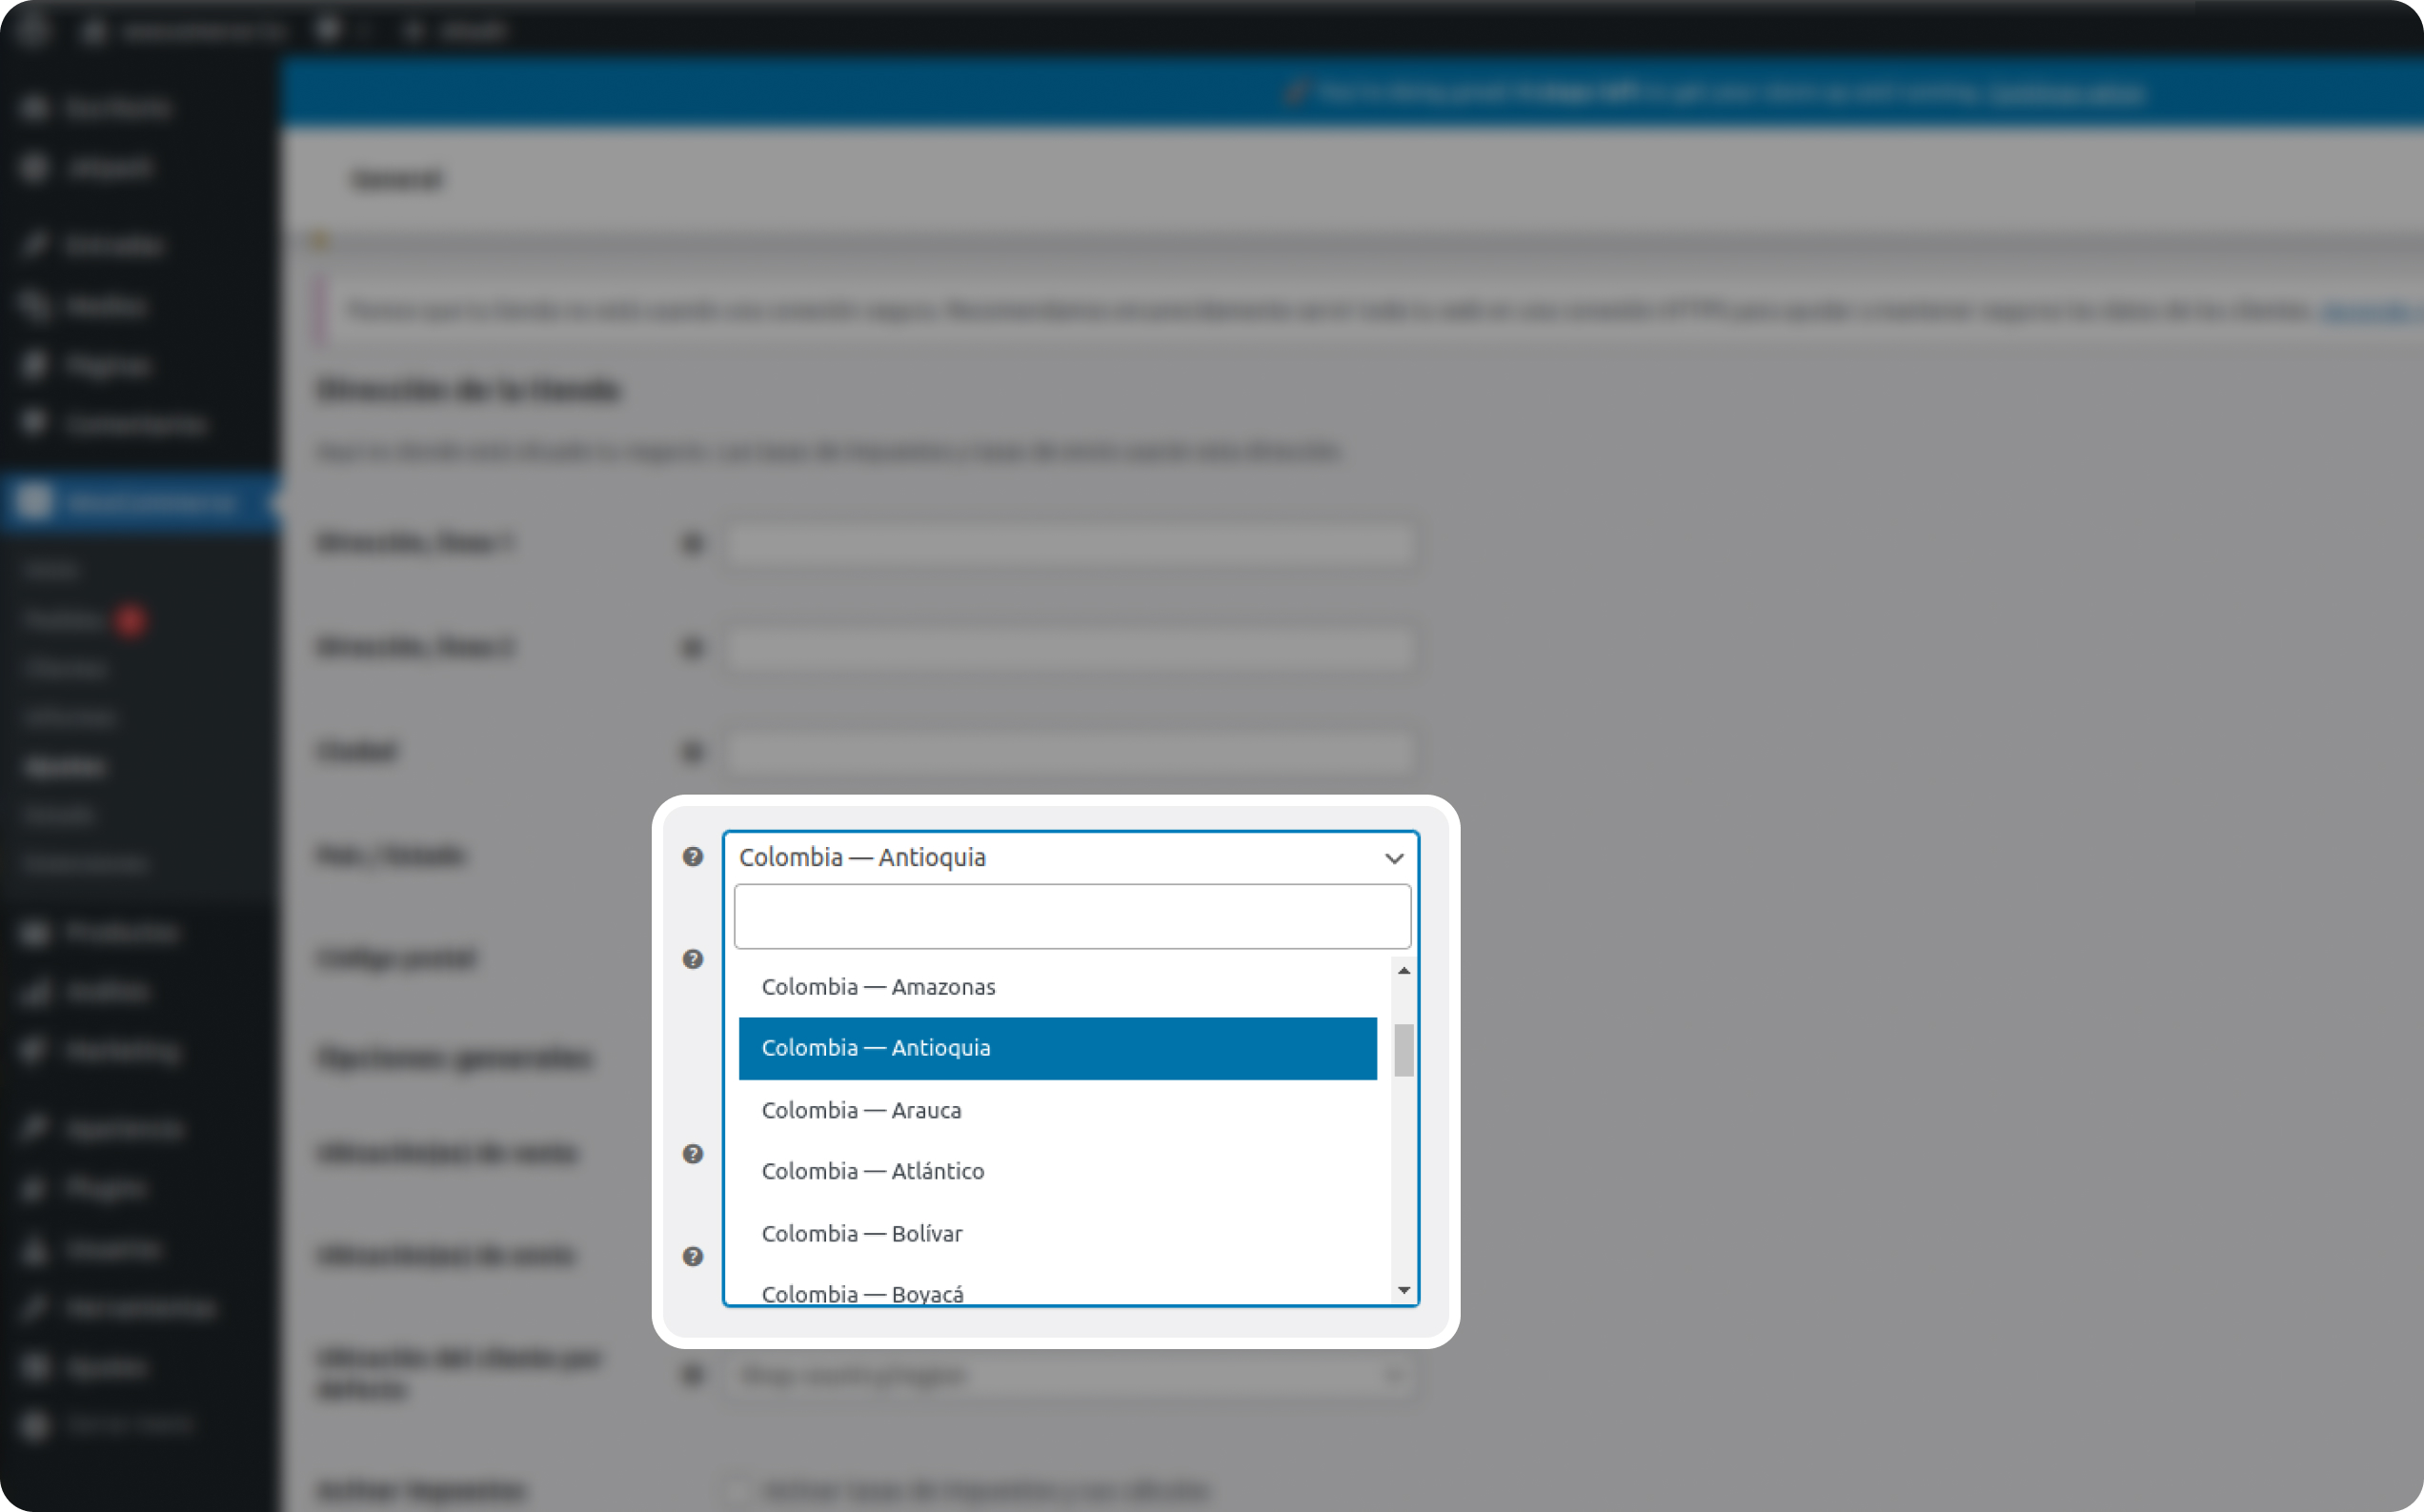
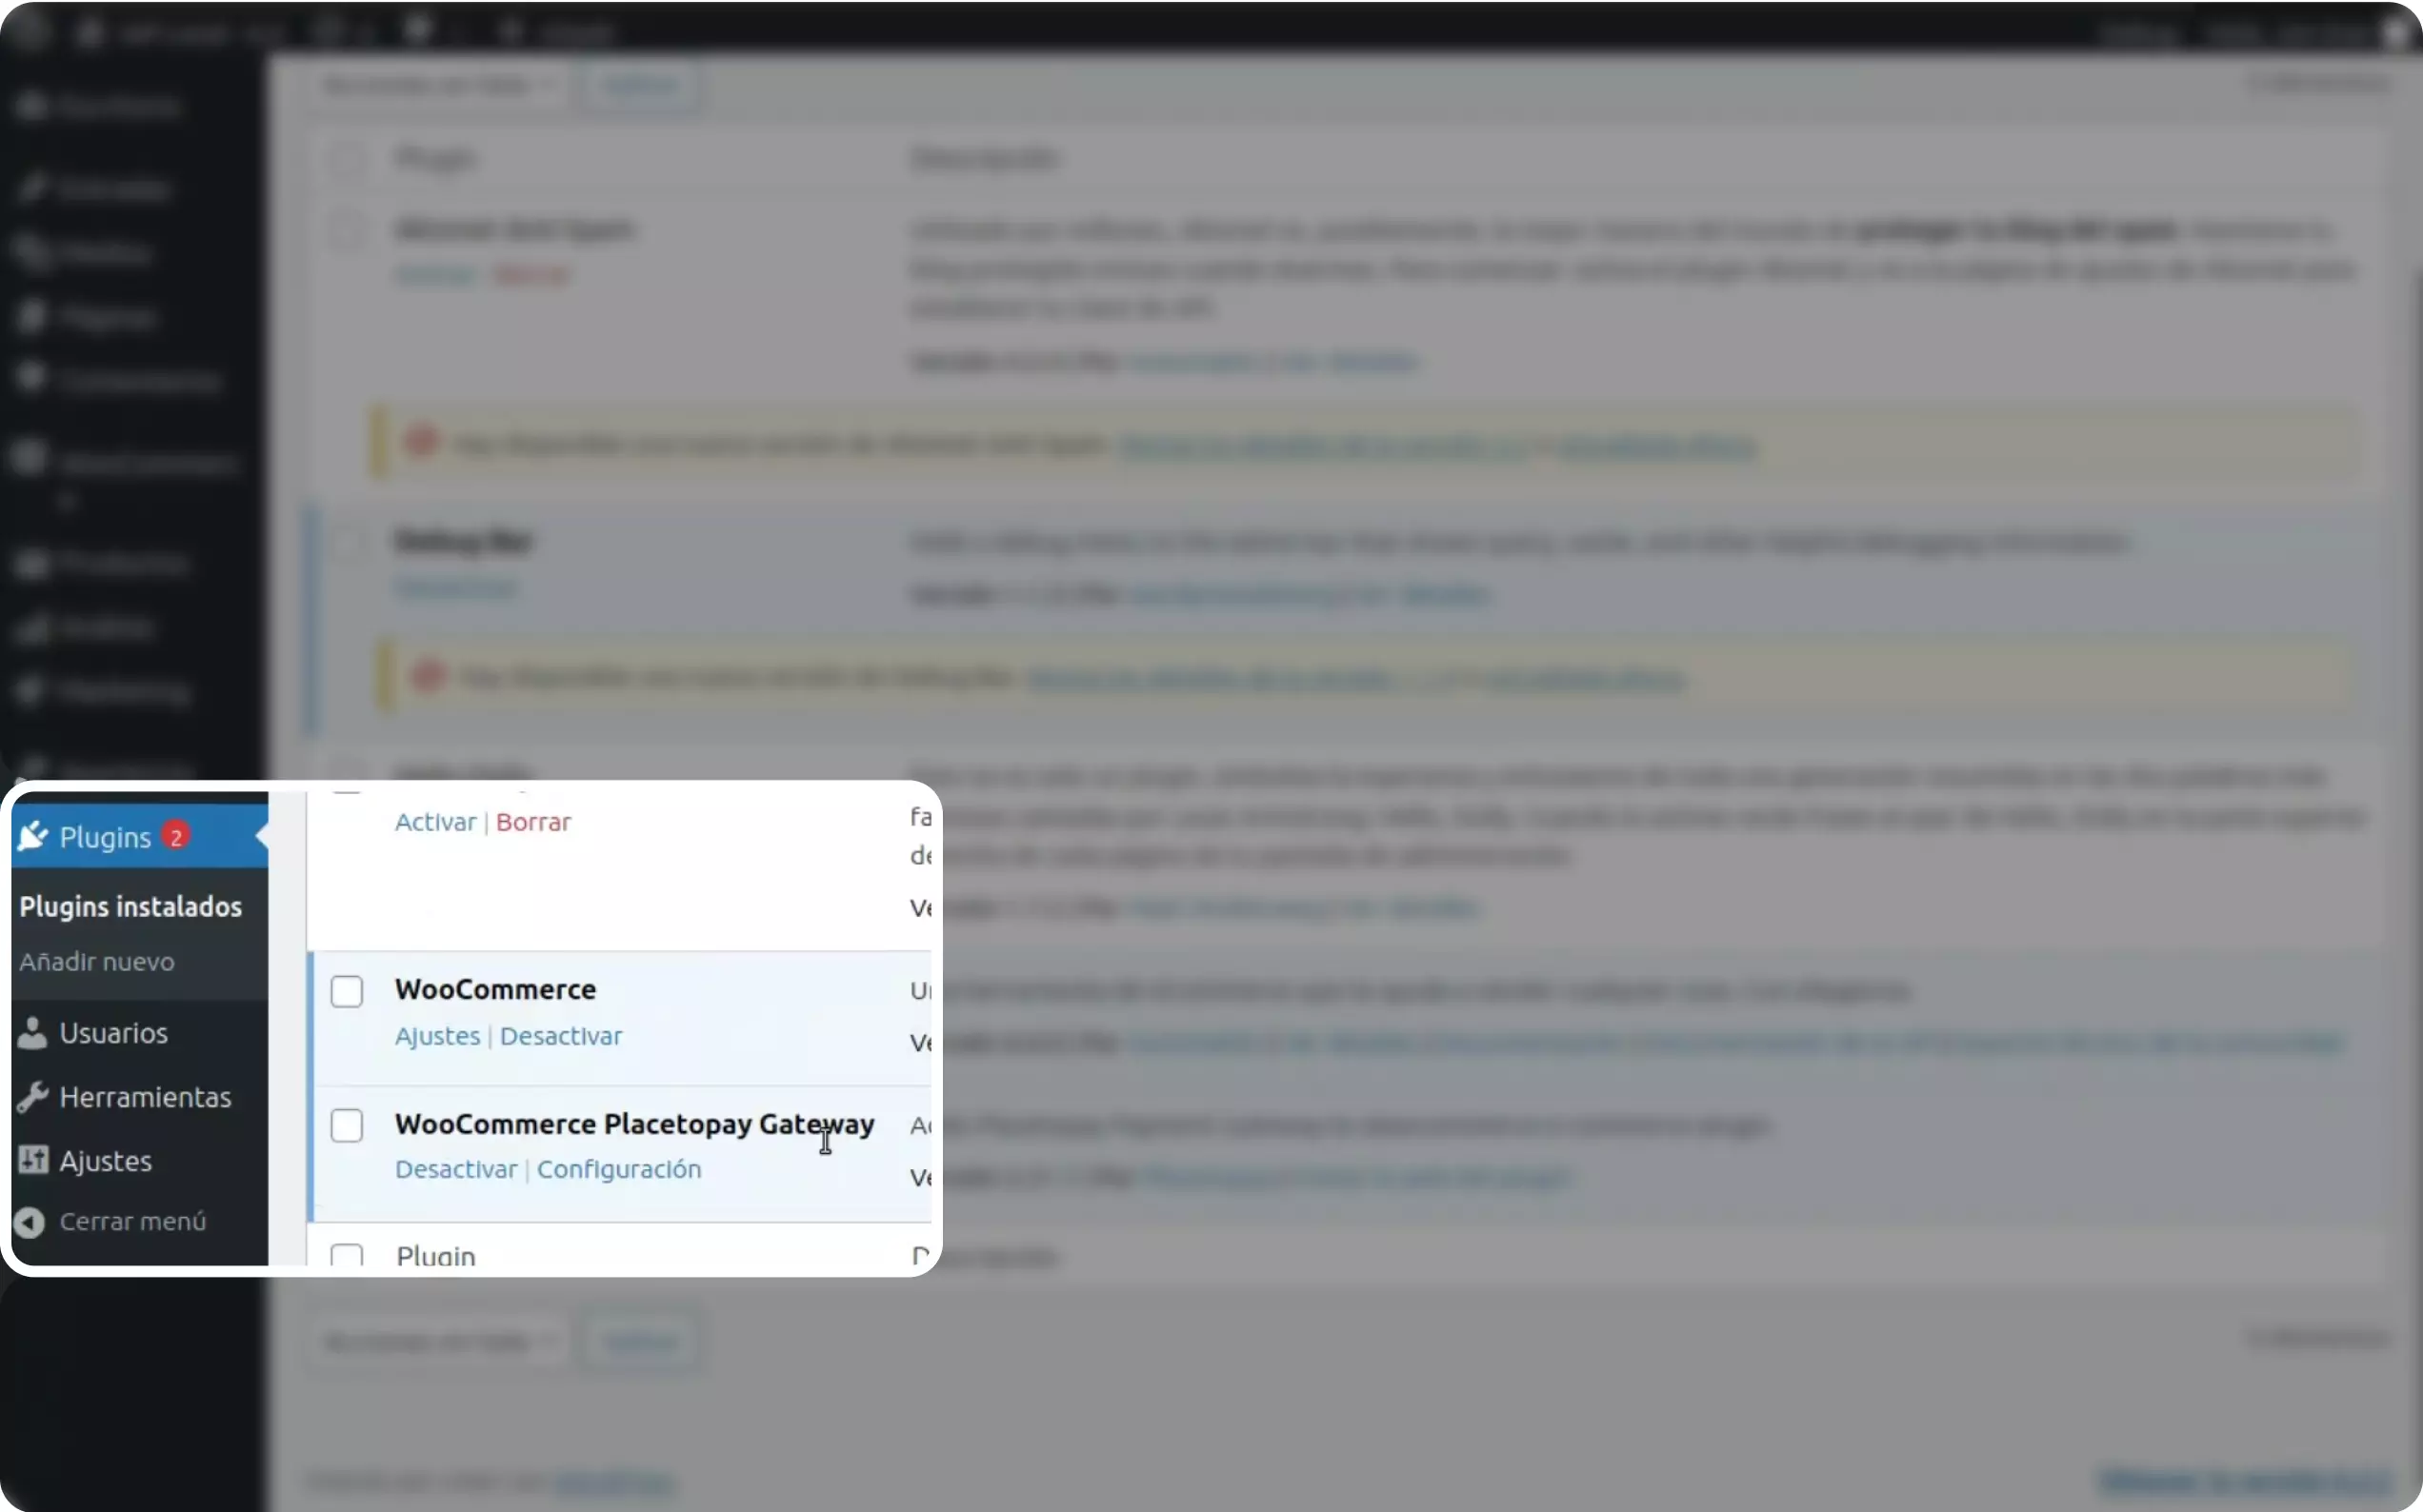
After, select the ‘Installed Plugins’ option in the left side menu.
a. This will take you to the list of all plugins installed on your site.
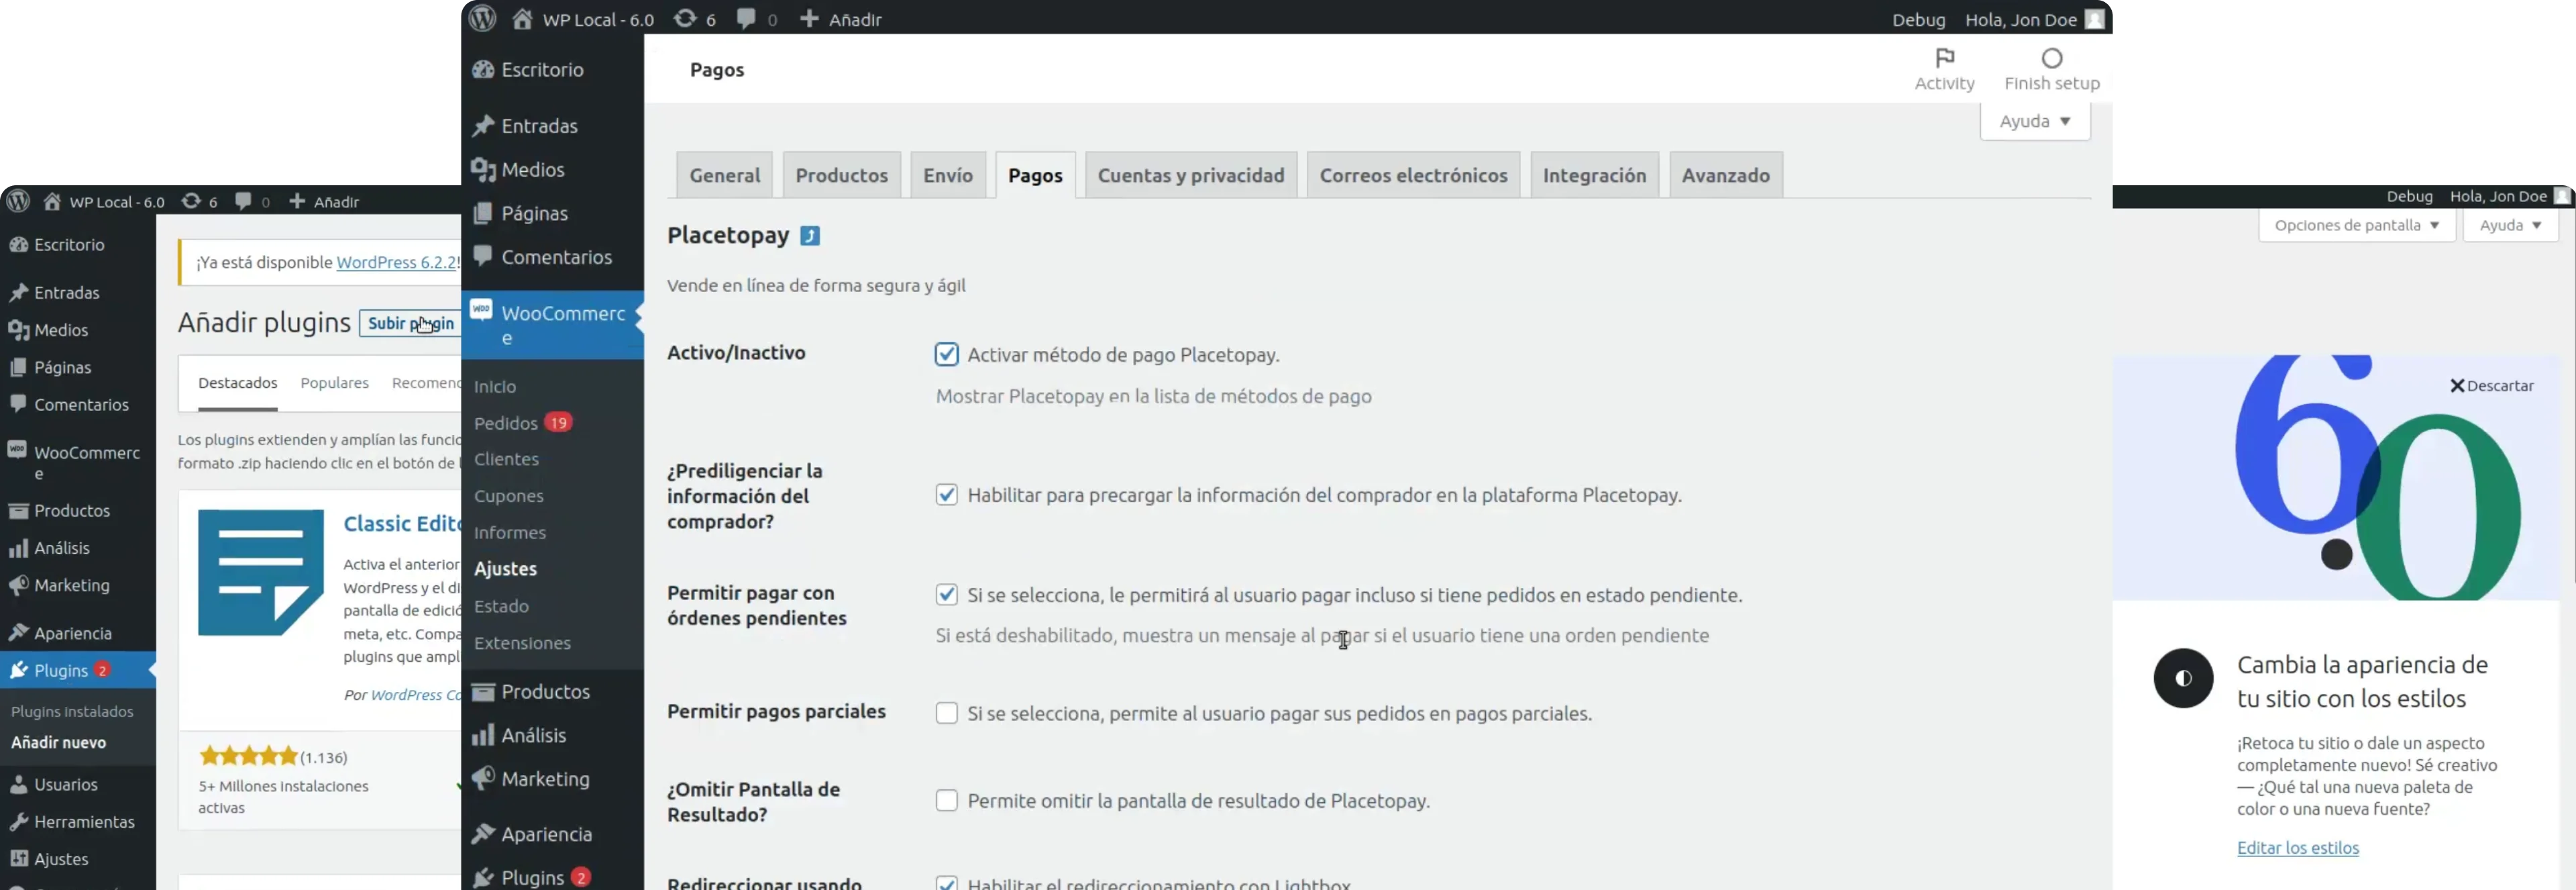
b. Search among your plugins for the one called ‘WooCommerce Placetopay Gateway’ and click on the ‘Settings’ button just below the title.

Scroll down using the scroller until you find the next setting, and assign it as follows:
a. Customer: Make sure you select the correct one according to your provider.
b. Identifier Enter the ‘Login’ information sent to you by email.
c. Transaction Key Enter the ‘SecretKey’ that has been sent to you by email.

The rest of the configuration is customizable and will depend exclusively on the specific needs of your business.
In WooCommerce we can have different states for an order. Below are the possible states of the order with the plugin:
Pending payment: is waiting for payment to be made. It automatically goes to Completed or Processing status depending on the case.
Completed: the payment has been successfully completed.
Processing: transaction review process for both single payment (cash and transfer) and payment with authorization.
Refunded: performs the refund and updates the store’s stock with the returned products.
Failed: the transaction could not be completed either due to insufficient funds or erroneous data.
Configuration section there are settings that are only displayed with Debug Mode activated, among them:
See documentation
See documentation
See documentation
See documentation
See documentation
See documentation